Email campaign
Creating a campaign
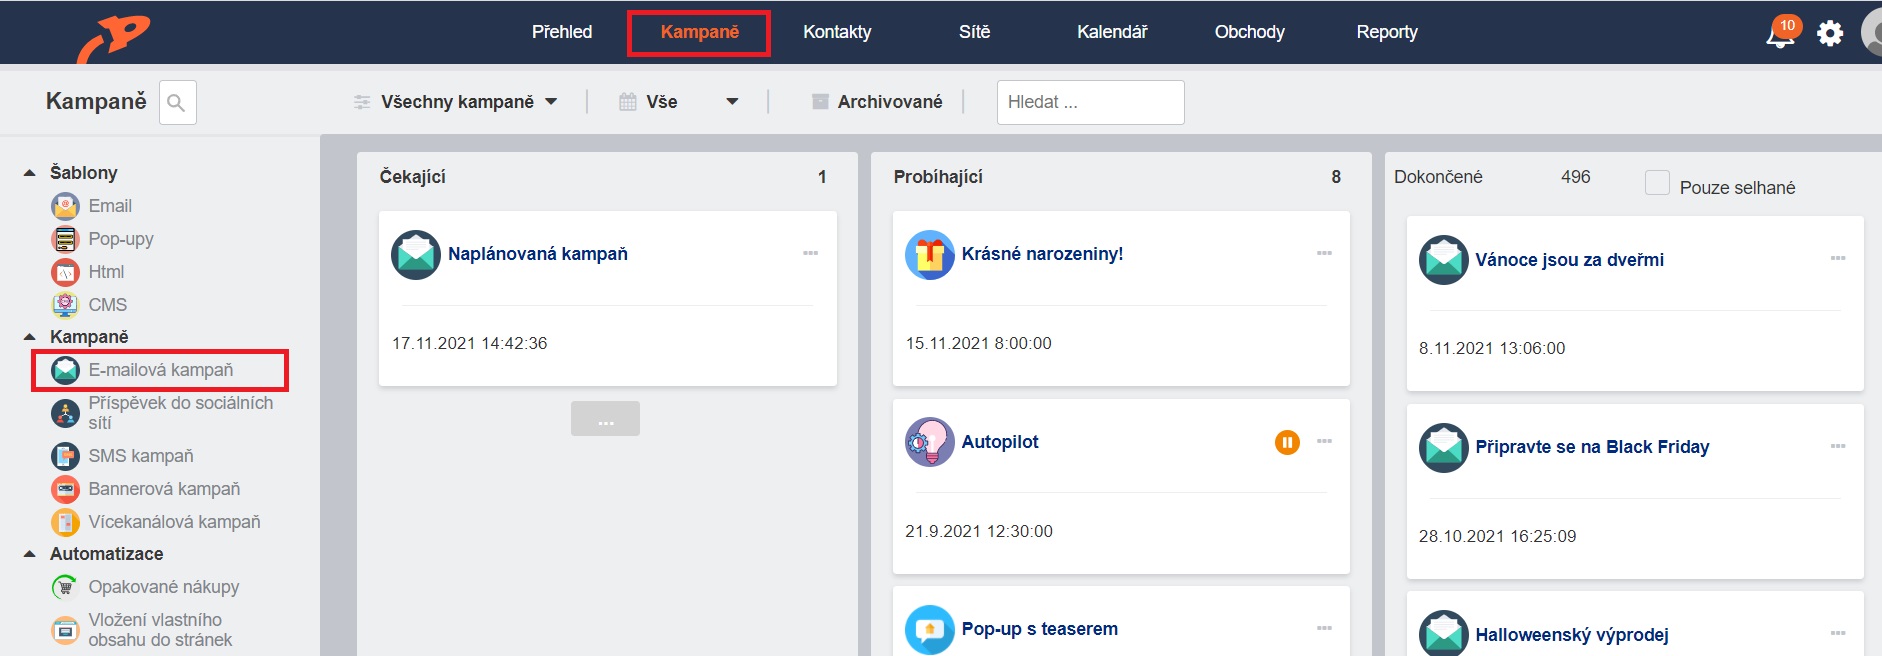
To create a one-time email campaign, click Email Campaign in the Campaigns tab.

A window will open where you can either choose from our system templates or, if you want to make a template yourself, select the New Template option.
Campaign editing
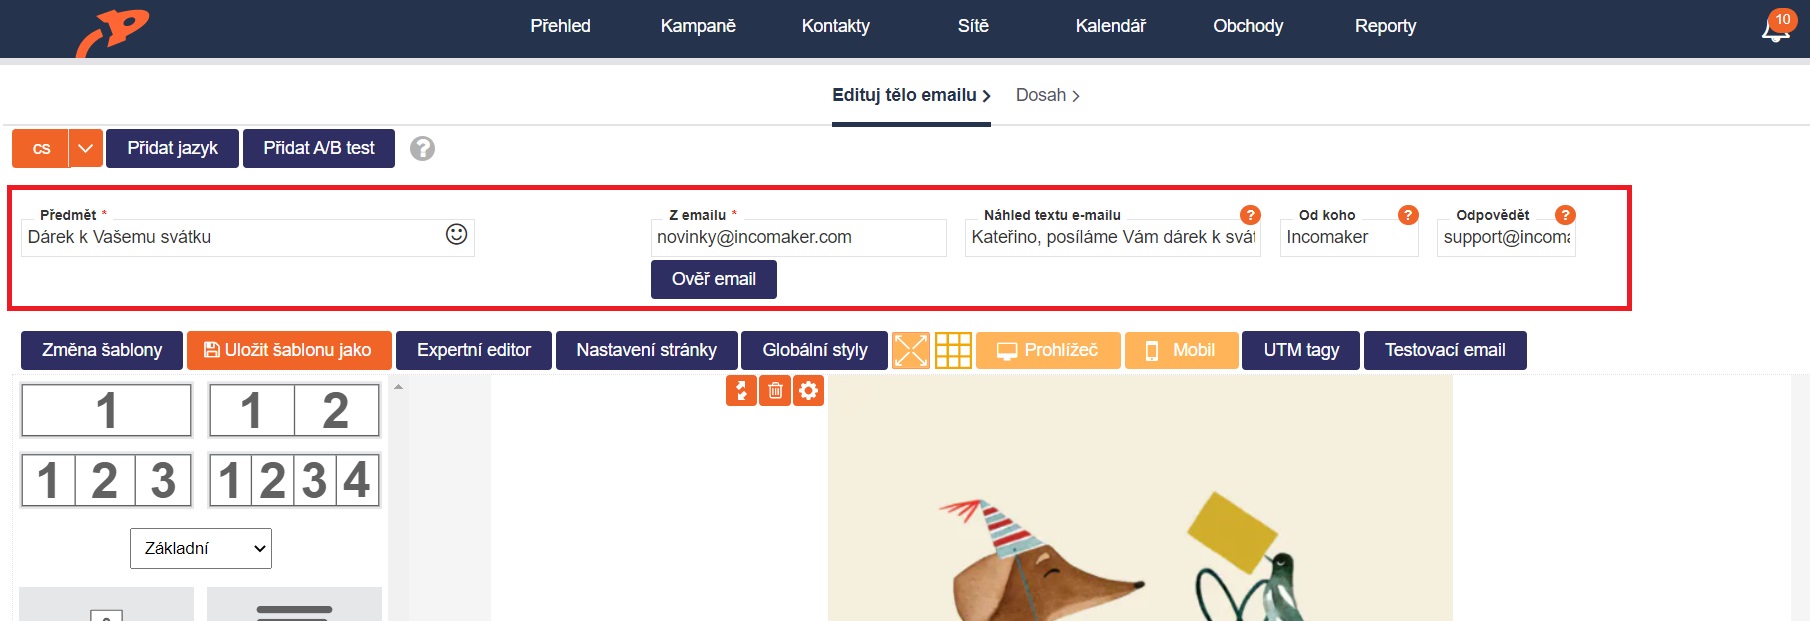
Once you have prepared a template to your liking (tips for working with the editor can be found here), you can start filling in the email header.

Required fields are Subject and from email, but we recommend to fill in from whom and Preview email text fields as well. If you are sending a campaign for the first time, you will need to verify the email you want to send from. You fill in the email address in the from Email field and click the Verify Email button. A confirmation email will arrive in your inbox for you to confirm. For future campaigns, this field will remain filled in. You also need to send from an email domain for which you have DNS records set up, otherwise only a limited number of emails will be sent.
After filling in the email header, you can send a test email to double-check the real email. When you're ready, click the Next button at the very bottom of the page.
Selection of beneficiaries
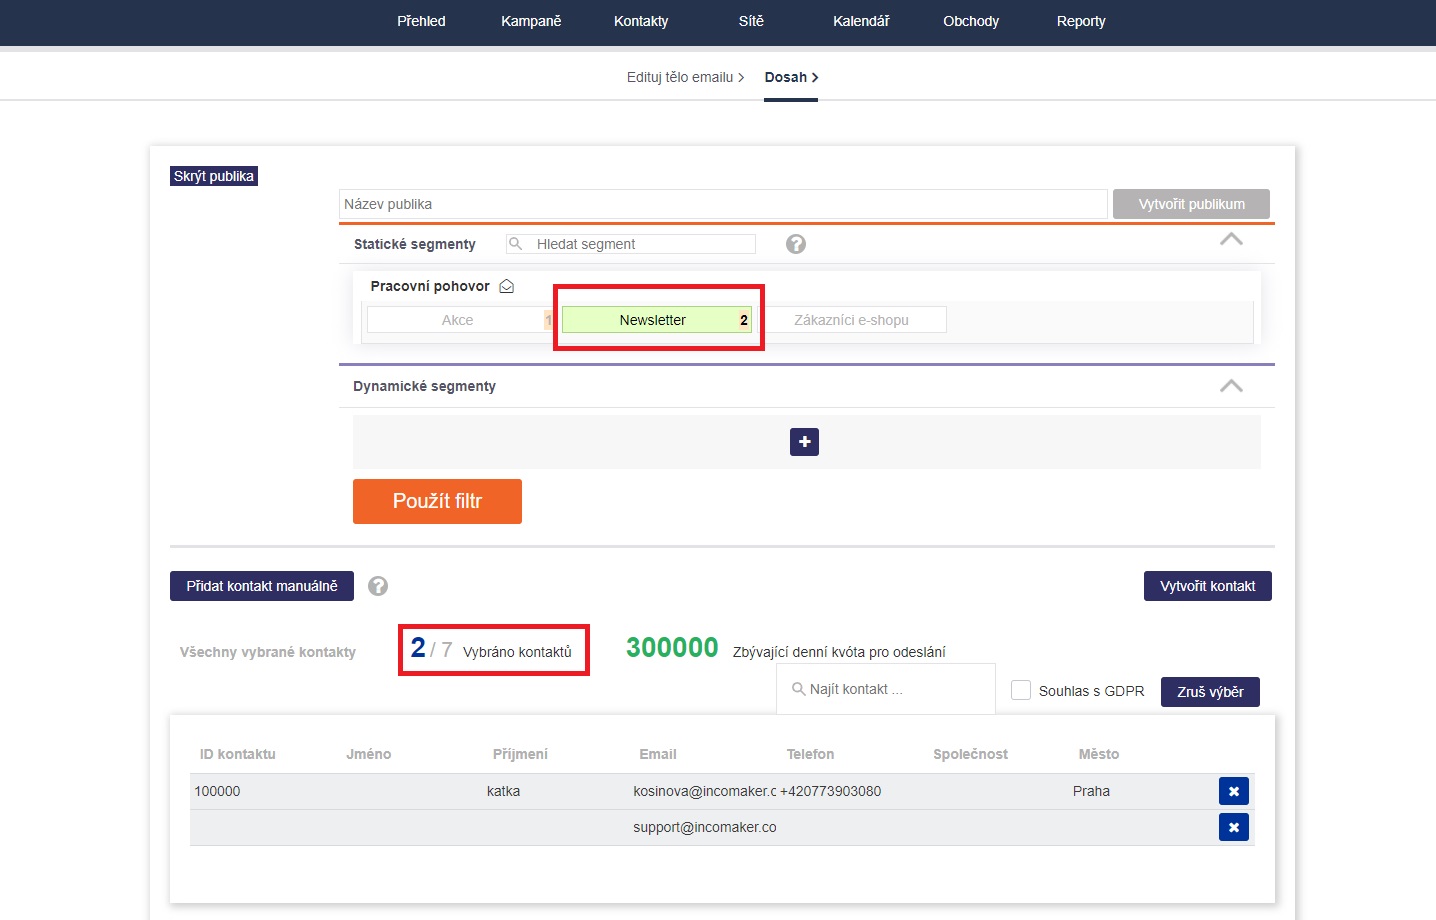
If you are selecting from static segments, click on the selected segment/s. The selected segments are highlighted in green, and the bottom of the page shows the specific contacts to which the email will go and the total number of contacts. You can also send campaigns to dynamically filtered contacts or pre-saved audiences, or you can combine these options as you wish.

Sending a campaign
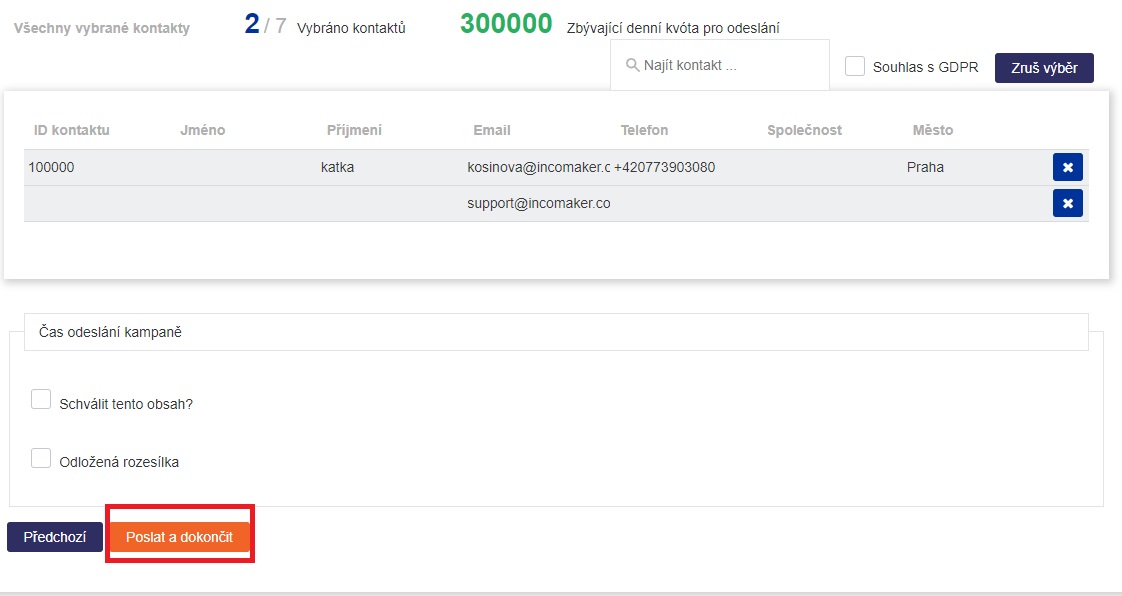
Once you have your recipients selected, all you have to do is click the send button to complete the campaign or schedule it to be sent later.
