Importing Contacts
Importing Contacts
Incomaker allows you to easily import your contacts. You can choose to export contact information from either XLS, XlSX or CSV files.
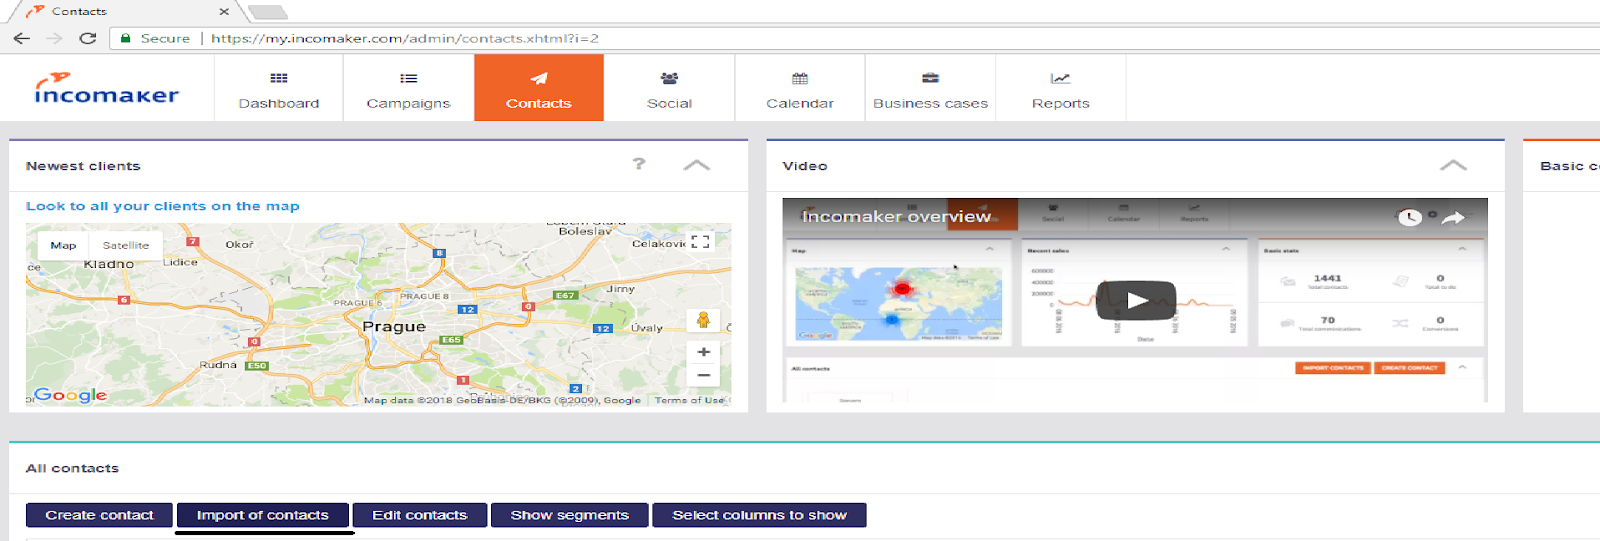
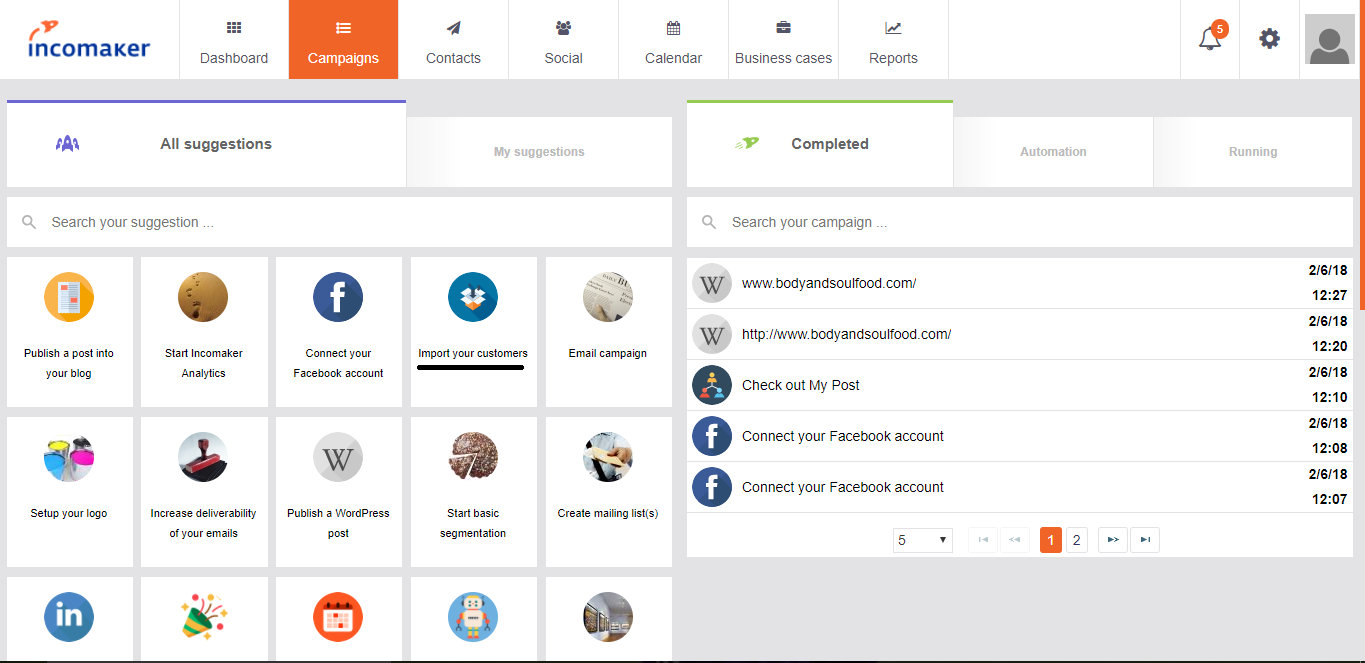
To import contacts, either select the Contacts menu and click the Import Contacts button or select the Campaigns menu and click the Import Your Contacts button.


You will be directed to a screen to either drag and drop or choose a file from your computer in order to import your contacts. Next, choose a preferred primary Contact Identifier. You will have many different options to choose from, ranging from first name to email. Your choice will appear under Contact ID in the contacts menu.
After choosing your preferred contact identifier, you will be asked to answer Yes or No to the following questions:
Does the first line contain column names?
If your sheet contains column names on the first line, select Yes to avoid creating a contact with your file’s column names.
If your sheet doesn’t contain column names on the first line, then select No.
Replace all email subscriptions? Overwrite (delete) the existing binding to segments for these contacts?
By selecting Yes, Incomaker will replace the current mailing list statuses and segments of all of your contacts to match the mailing list statuses and segments of your imported file. Be careful here, as choosing Yes could re-subscribe certain recipients to your mailing list and adjust certain segments.
By selecting No, Incomaker will not replace the current mailing list statuses or segments of all of your contacts. It will only add the new mailing list statuses and segments from your imported file.
Column Labels
Incomaker gives you the option to categorize your imported columns by adding labels. For example, you can label your contacts’ phone numbers with the Mobile category. We recommend assigning a label to each column to keep your contacts’ information organized.